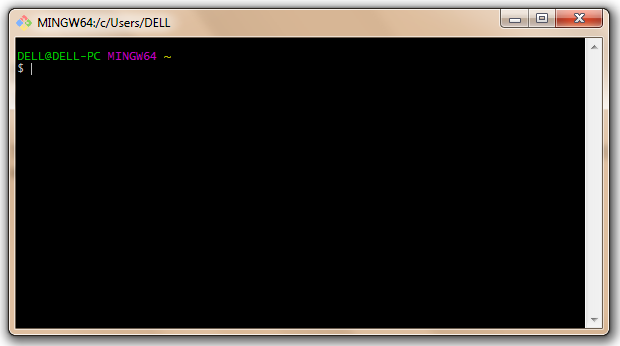
1. First of all download the Git Bash from: https://git-scm.com/downloads for writing up the commands. After downloading, install it and it will open a window like:
Main difference between command prompt and the git bash is:
In command prompt we use back slashes (\) but in GitBash we use forward slashes (/)
2. Now, go to http://nodejs.org and install it on your system. Steps to install the NodeJs are:
a) Create a folder with the project name in any drive of your system. Like in this tutorial I am going to take an example of creating a phoneDirectory. So, I am choosing the project folder name as: phonedirectoryapp
b) Create a server.js file under this folder.
c) Now open the server.js in editor
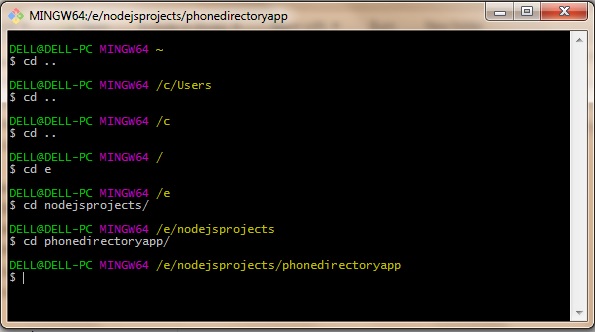
d) Now we will point the GitBash to the new folder created. Use: cd .. for moving one step back into the directory. Like in my case I have created a project phonedirectoryapp under my E drive.
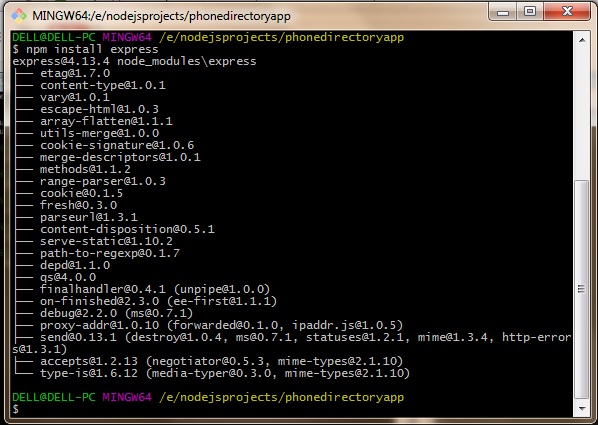
e. After pointing the project name fromo GitBash, we will use the NPM for installing the Express. So, write the command into your gitbash:
$ npm install express
It will take a while for installing.
f. Now, write the code under server.js file:
var express = require(‘express’);
var app = express();
After writing this command, we can use the functions express under server.js file.
g. Now, we will test this by creating a connection
app.get(‘/’, function(req, res){
res.send(“Hello World from server.js”);
}
app.listen(3000);
console.log(“Server running on the port 3000”);

h. Now, in your GitBash write:
$ node server
and press enter.
You will get a response: Server running on the port 3000
i. Now, go to the browser and type: localhost:3000 and you will get reponse:
Hello World from server.js

This ensures that the Node and Express server and running properly.
3. Now, will change this browser message with the dynamic by pointing the directory name. So, we need to Create the public folder under our project folder: \phonedirectoryapp and then create index.html file under that folder.
4. Write the replace the code:
app.get(‘/’, function(req,res){
res.send(“Hello World from server.js”);
});
with:
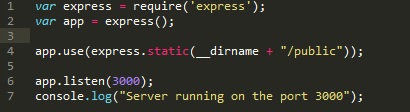
app.use(express.static(__dirname + “/public”));
So, the code will look like:
5. Now, go to the GitBash and close the server with Ctrl+c and run the server again with comman:
$ node server
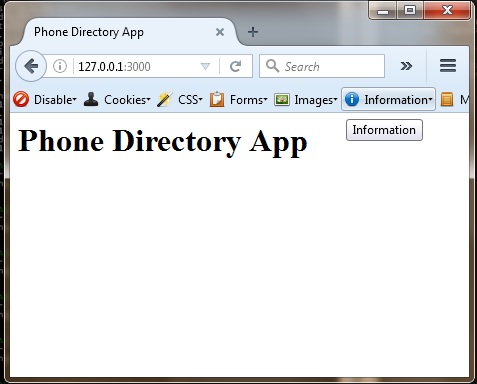
Now, go to the browser you will see the output is coming from the index.html
6. Now, we will include the AngularJS into our html file.
Go to the http://angularjs.org and copy the CDN:
https://ajax.googleapis.com/ajax/libs/angularjs/1.5.5/angular.min.js
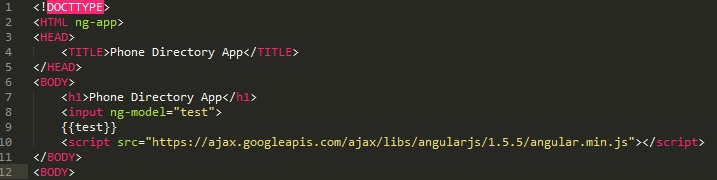
and include it in the code before closing the body tag and for using the AngularJS we need to tell the html to use the AngularJS by writing
ng-app
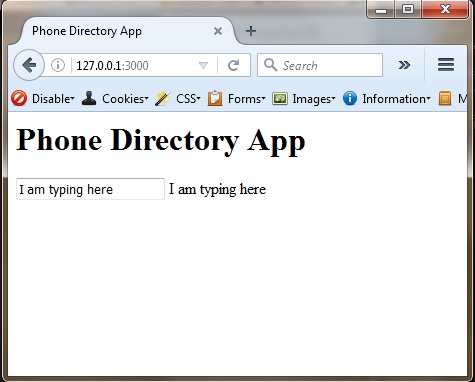
in html tag. Here is the code with the input box and the output:
For the above code you will see the below output:
7. Now we will use the BootStrap into our index.html for creating the responsive forms and other design. Go to: http://getbootstrap.com/getting-started/ and copy the latest version of the files:
include this code into the head tag. Now, refresh your browser and you will see the bootstrap effect on the front-end.
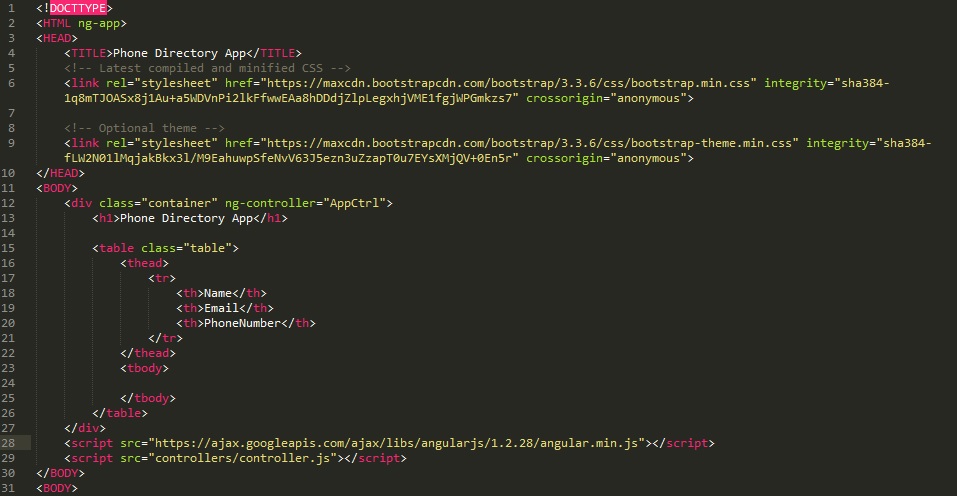
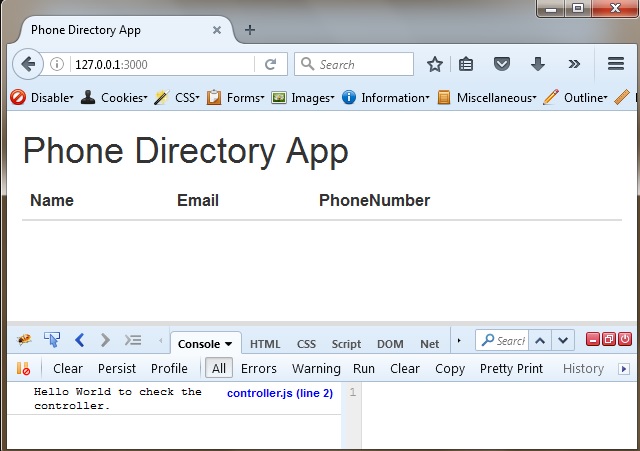
8. Now we will create a general layout for adding the phone directory enteries using the simple table table.
9. Now, we will use the AngularJS for saving the data using controllers. So, firstly we will create a controllers folder under public folder and then create controller.js under controllers folder.
10. Now, include the newly created controller.js file at the bottom of the file:
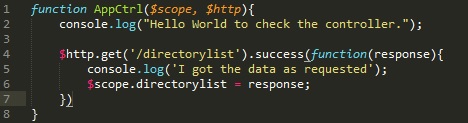
11. Now, open the controller.js file and write the code under that, to check the connectivity of the controller with the index.html

12. Here is the final code for the index.html with the steps which we followed:
13. You will see the response in the console, to ensure that the connectivity of the controller and the index file is done.
14. Now we will save the data into the database using AngularJS, later on we will save the data using the MongoDB.
Firstly, we will define the variables into the controllers.js file in which we will set the values and define them in an array.
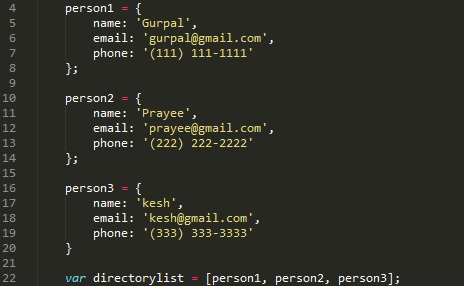
Secondly, for using this array into the view as global scope, we need to define the $scope into the and define the directory list into the $scope.
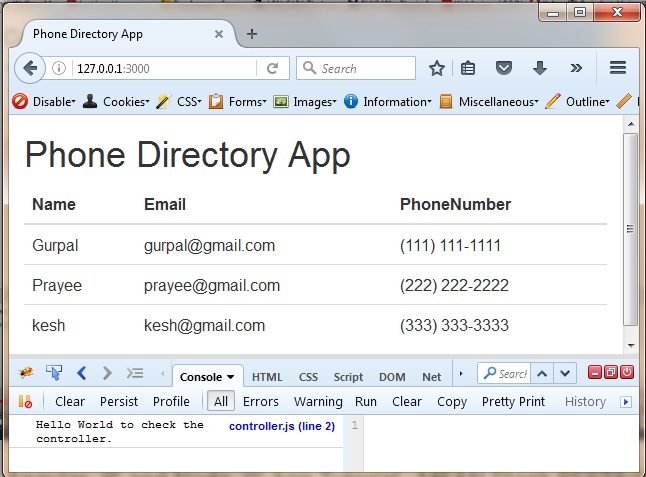
Now, go in index.html and write the code to get the data from the controllers.js file in the table view.
and for showing the data into the td we will define them as:
{{contact.name}}
which will get the name and
{{contact.email}}
will fetch the email and in the same way for the phone number use:
{{contact.phone}}
Now you will see the output in the browser as:
15. Now next step is to get the data from the view file using http. We will define the $http in the controllers.js file and define the $http as:
$http.get(‘/directorylist’);
Now we will move to server.js file and define the get command to make sure that we will receive a get command successfully.
app.get(‘/directorylist, function (req, res){
console.log(‘I receive a GET request’);
});
Now, close the server using Ctrl+c and restart using the node server

16. Now to make using the server.js we will copy the code from the controllers.js into the server.js and pass the response into the json format using:
res.json(directorylist);
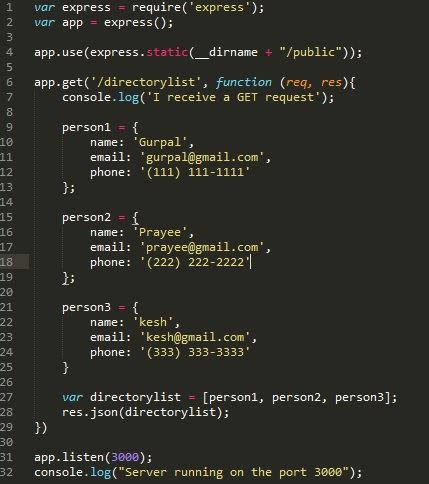
So, this will be the final code for the server.js file
and under the controller.js file we will write the function to pass the values from the directorylist to the view. Here is the final code for the server.js file.
To see the response close the server and restart and you will see the both response.

and in the browser you will see the below output.

This output ensure us that the data is coming from the dynamically and it is passing the values into the front-end.
17. We are using MongoDB as the database here and in this step we will download and install the MongoDB from the http://mongodb.org
You can install it in any drive. In my case I am installing it in drive E under MongoDB folder.
Now, once you have installed the MongoDB then you need to create a folder to use the MongoDB. So, I am creating a folder with name data folder under drive E and MongoDB required two folders to run correctly. So, I am creating a db folder under data folder. The path is:
E:/data/db
18. Once the MongoDB is setup, we can start with the MongoDB. Open the new GitBash window and point to the folder:
E:\MongoDB\bin where the MongoDB data is present. And then run the comman ./mongod in the GitBash
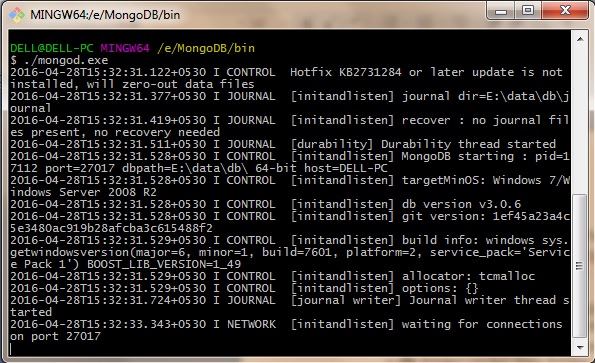
This ensure us that we have installed the MongoDB successfully. Now, when you will go to the drive where you have installed and you will see the fresh files where there. In my case I have installed the MongoDB at: E:\data\db
19. Now we will use the MongoDB with our application which we have created i.e. directorylistingapp. For using this we need to open a new GitBash and point the same to the: E:\MongoDB\bin and
Now, write the $ ./mongo.exe in GitBash which will connect to the MongoDB database

Now MongoDB is totally ready to use and now we will check the database which is already present in the MongoDB with the command:
$ show dbs //to show the list of name databases which are already created
$ use phonedirectorylist //it will create a new database in the mongoDB
when you will use the use command it will respond with the message:
switched to db phonedirectorylist
$ db.phonedirectorylist.insert({name: ‘Gurpal’, email: ‘[email protected]’, phone: ‘(111) 111-1111’})
20. Now, I would like to introduce you with the MongoUI. MongoUI is the web interface to deal with the mongoDB. But keep in mind, for using MongoUI, firstly you have to install the MongoDB which we installed in the upper steps.
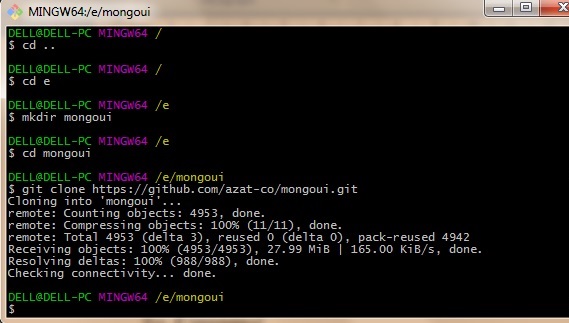
Create a new directory with the mongoui in which you want to install the MongoUI. I have created it under the drive E and point the GitBash to the folder where you want to install the MongoUI. I have pointed the GitBash to the: E:\mongoui
Now create a clone of the mongoui using:
git clone https://github.com/azat-co/mongoui.git
It will show you the below output:

[…] How to install Node JS and use it ? […]
[…] documents, but it falters when we try to use it for declaring dynamic views in web-applications. AngularJS lets you extend HTML vocabulary for your application. The resulting environment is extraordinarily […]
[…] data-intensive real-time applications that run across distributed devices. In software development, Node.js is an open-source, cross-platform runtime environment for developing server-side Web applications. […]